
Dec 11, 2025
How to Find & Fix Caravan Roof Leaks: Complete DIY Guide
Melbourne’s weather has always been unpredictable, especially during season transition you get the worst weather possible, from sudden downpours to high winds and extreme temperature shifts, all these can take a serious toll on your caravan. When weather turns cold, roof leaks are one of the most common issues caravan owners face, especially in areas like Bacchus Marsh, Campbellfield, and Thomastown, where caravans are often parked outdoors and exposed to harsh seasonal changes.
A leaking caravan roof can ruin your holiday, damage your caravan’s interior and lead to costly structural repairs. And with Melbourne’s unpredictable weather, it isn’t too far-fetched to assume something like these could affect anyone.
This complete DIY guide will show you how to find caravan roof leaks, how to repair them, and when to call KJ Caravan Repairs for professional help. Whether you’re maintaining an older caravan or preparing a second-hand van for your next trip, the steps below will help you keep your caravan leak-free and road-ready.
Why Caravan Roof Leaks Happen in Melbourne
Changing weather conditions affect caravan roofs more than many people realise. The constant expansion and contraction from heat and cold, followed by heavy rain or hail, can result in :- Cracked or old sealant
- Loosen roof fixtures like vents, skylights or antennas
- Movement in seams, joins and roof edges
- UV damage to roof surfaces
- Water pooling in low spots
How to Identify a Caravan Roof Leak Early On
The key to less damage is spotting a problem early on. Before we even dive into the methods to fix the leak, we will look into how we can identify a caravan leak. Roof leaks can start small and travel before dripping inside, making them tricky to spot.1. Inspect the Exterior of the Roof
Use a ladder to carefully get to the top of your caravan. Ensure your caravan roof is designed for foot traffic and that you have a good view of the surface. Finally, look for:- Cracked or peeling sealant
- Lifting edges around vents or skylights
- Rusted screws or mounting points
- Impact damage from branches or hail
- Soft spots or bubbling on roof panels
2. Check Inside the Caravan
The easiest way to check is from inside your caravan. There are plenty subtle indoor signs that can indicate a leak. You need to check for:- Damp or musty smell
- Mould around ceiling joins
- Discolouration on timber trims
- Soft or swollen ceiling panels
- Stains under vents or solar wiring points
3. Perform a Hose Test
Hose test is a simple DIY technique that helps detect hidden leaks. Please ensure you have a consistent water flow and an equipped hose to perform this.- Start at the lowest area of the roof
- Spray a gentle stream of water over a small section
- Have someone inside monitoring for drips
- Slowly move the hose upward toward the suspected area
- Avoid using high pressure, it can mask or worsen the leak.
How to Fix Caravan Roof Leaks: DIY Methods
Once you’ve done your due diligence and identified the source, you can attempt to fix the leak with DIY methods, safely at home. However, please note these methods are only applicable when you have a minor leak. If the leak is major, looking for “caravan repairs near me” and connecting with professionals like KJ Caravan Repairs is the best thing to do.1. Clean the Area Thoroughly
To ensure the area is properly cleaned, you need to be prepared. Here’s what you need to remove:- Old silicone/sealant
- Dirt and dust
- Loose roof coating
- Debris caught under vents or brackets
- Use a plastic scraper to avoid roof damage.
2. Apply High-Quality Caravan Sealant
There are several sealand in the market available for purchase. You should never use a general-purpose silicone. Look for UV-resistant caravan-grade sealant especially designed for:- Vents & skylights
- Antenna bases
- Solar panel mounts
- Seams & joins
3. Use Butyl Roof Repair Tape for Larger Leaks
The butyl tapes are designed for times like this. This tape is durable, flexible and ideal for cracks or seam repairs for caravan. Follow the steps below when using the repair tape:- Clean and dry the area
- Warm the tape slightly with a heat gun for better adhesion
- Press firmly and roll out air pockets
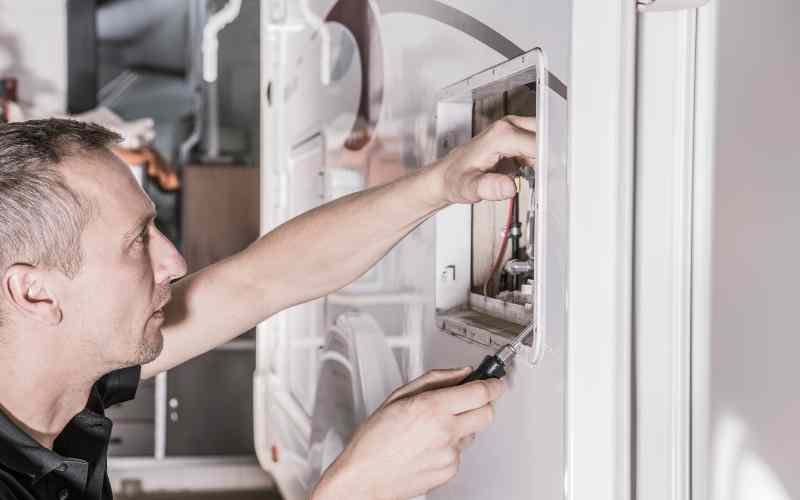
4. Re-Seal or Replace Roof Fixtures
Many leaks come from deteriorated gaskets or cracked fittings. If you are able to identify this, here’s how you can fix or replace the roof fixtures. Note: Only do this, if you are well-equipped and have enough understanding of roof refitting.- Remove the fitting
- Clean the base
- Install new sealant
- Refit securely
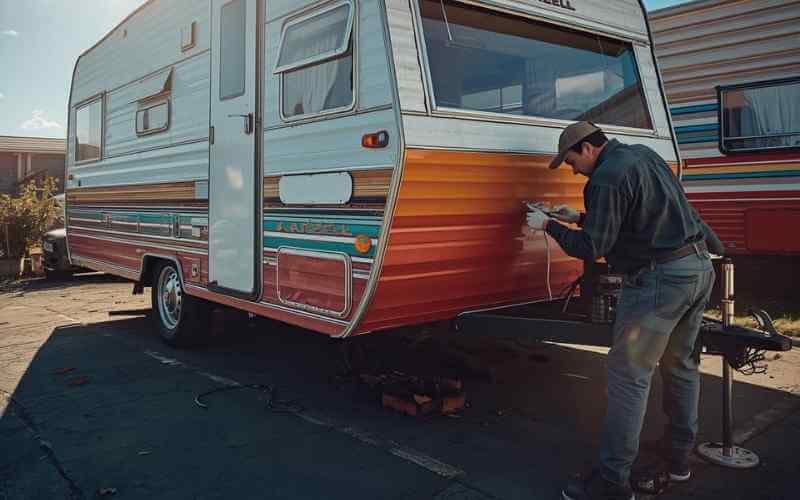
5. Consider a Full Roof Reseal
If your caravan is well over 10 years old, full roof reseal might be your best option. Older caravans often benefit from a total reseal to prevent recurring leaks. This is a job best left to professionals due to the scope and safety requirements. If your caravan is aging or has multiple leaks, KJ Caravan Repairs can perform full reseals for customers needing assistance for: We use industry-grade sealants and advanced leak detection methods to ensure your caravan is road-ready for all weathers.When NOT to DIY (Call a Professional Instead)
Not all leaks are the same. Some leaks will turn your whole caravan to a worse condition and you will require an experienced technician to look into it. Contact KJ Caravan Repairs if you notice:- Recurring leaks after DIY repairs
- Extensive water damage or sagging ceilings
- Rotting timber frames
- Mould growth
- Cracked or lifted roof sheeting
- Severe hail or storm damage
- Damaged skylight or hatch frames
How to Prevent Future Roof Leaks
Being proactive goes a long way. Here’s how to keep your caravan weatherproof year-round: Conduct roof checks every 6 months Especially before and after Melbourne’s storm seasons.- Reseal joints at the first sign of cracking
- Park under cover where possible
- Remove debris after strong winds
- Use a caravan cover during long storage periods
- Install protective UV roof coating every few years
Why Choose KJ Caravan Repairs for Caravan Leak Repairs?
KJ Caravan Repairs is trusted across Melbourne for reliable, affordable, high-quality caravan repair services. We specialise in:- Full caravan roof resealing
- Roof leak detection & repairs
- Skylight & vent replacement
- Storm damage and insurance repairs
- Structural water damage restoration
- General servicing & safety checks
- Second-hand caravan sales
- Pre-purchase inspections